


Top activities to do this Summer on Lake Conroe…and all out of Waterpoint!
Top Activities to Do This Summer on Lake Conroe…and All Out of Waterpoint! I get the question all of the time when people call and they find out we do not do boat rentals anymore, “So what is there to do on Lake Conroe?” My answer typically changes by what we have...

Company test survey vehicle at Lake Conroe.
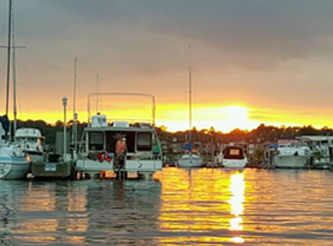
Our Yacht host company team building party
Our Yacht host company team building party
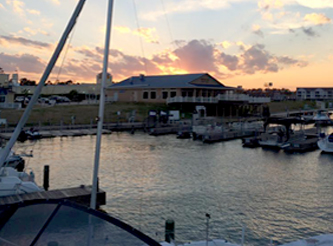
Conroe Symphony Orchestra lakeside
Conroe Symphony Orchestra performs lakeside
